Advanced Usage
Upload using Command Line 2.1.0+
PicGo started supporting to use command line to call to PicGo clients for uploading since version 2.1.0.
You can use upload to upload the image on your clipboard and use upload xxx.jpg to upload the image in the specific path.
Windows
For Windows users, you can upload your image using PATH\PicGo.exe upload, where 'PATH' is your PicGo path.
macOS
For MacOS users, you can upload your image using /Applications/PicGo.app/Contents/MacOS/PicGo upload.
Linux
For Linux users, you can upload your image using PATH/PicGo.AppImage upload, where 'PATH' is your PicGo path.
PicGo-Server Usage 2.2.0+
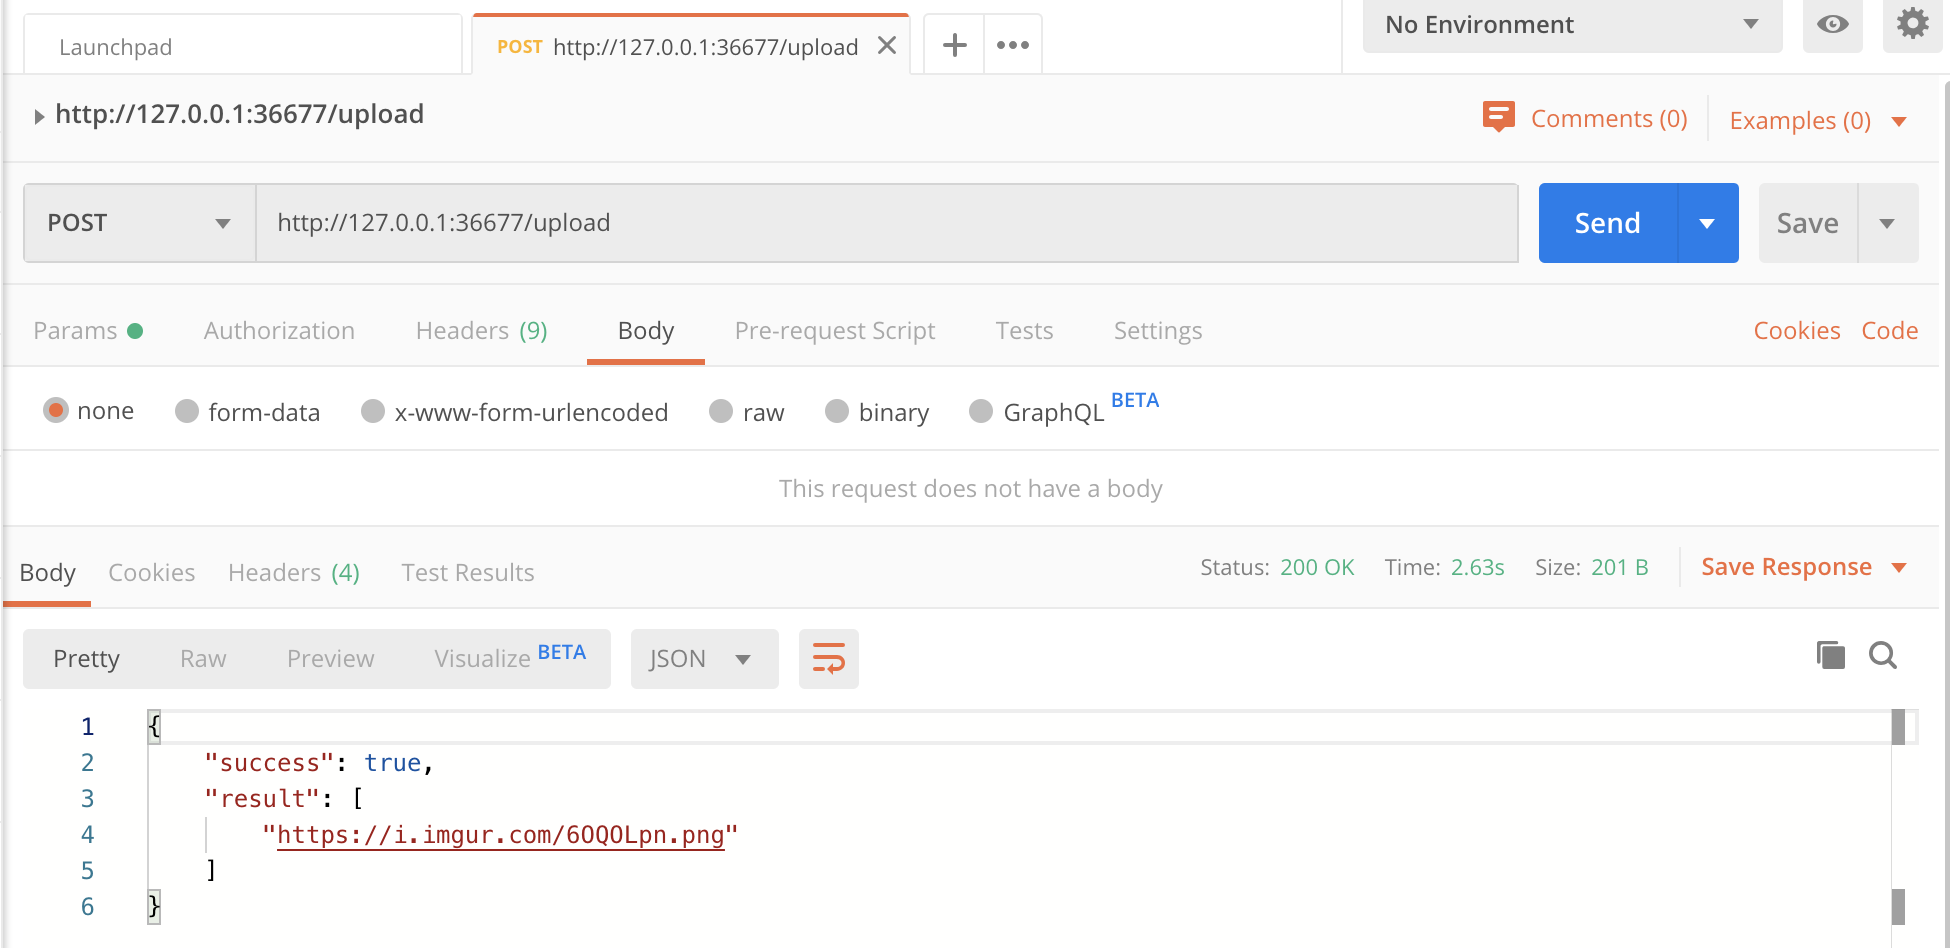
PicGo has a small built-in server that receives HTTP requests from other applications to upload images since 2.2.0.
Default listening address: 127.0.0.1. Default listening port: 36677
Upload the image on clipboard by calling HTTP
- method:
POST - url:
http://127.0.0.1:36677/upload(use the default setting as an example)
Then, you can upload your image.
Returned data:
{
  "success": true, // or false
  "result": ["url"]
}
Upload the specific image by calling HTTP
- method:
POST - url:
http://127.0.0.1:36677/upload(use the default setting as an example) - request body:
{list: ['xxx.jpg']}must be JSON-formatted

{
  "success": true, // or false
  "result": ["url"]
}