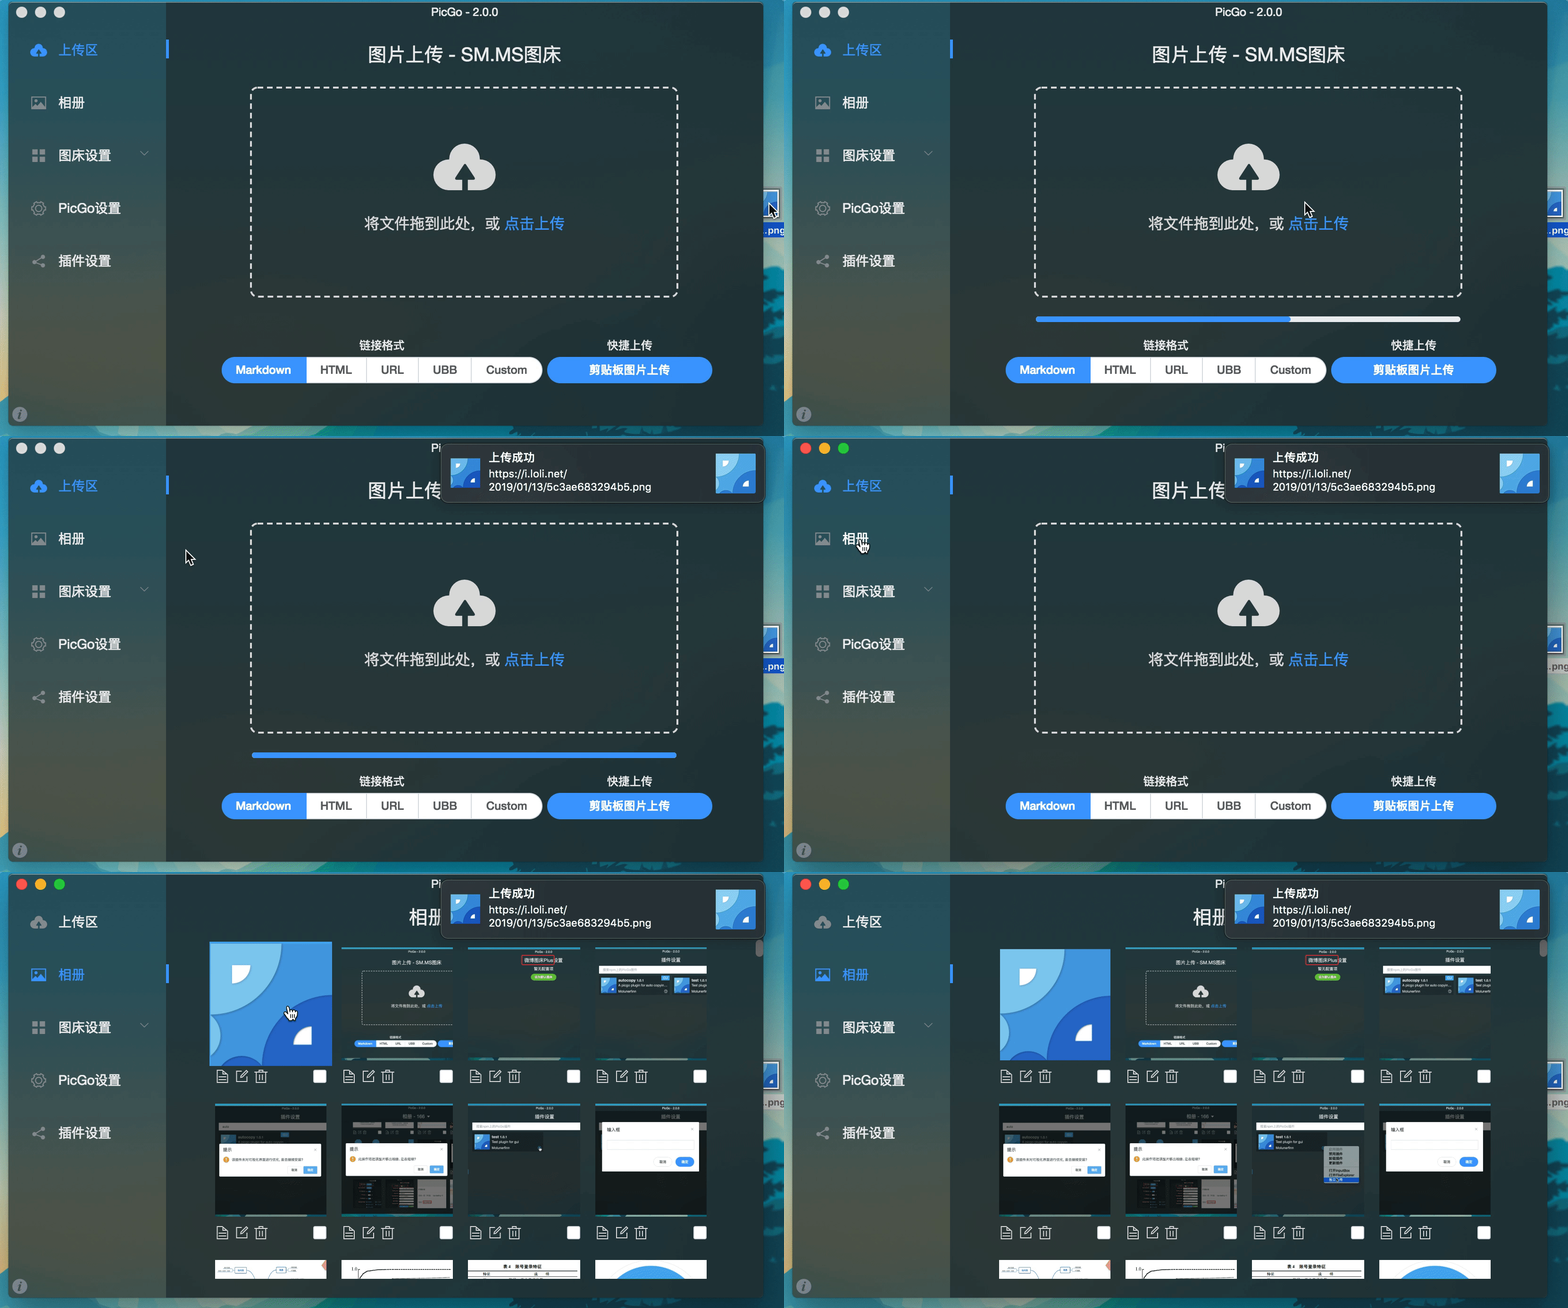
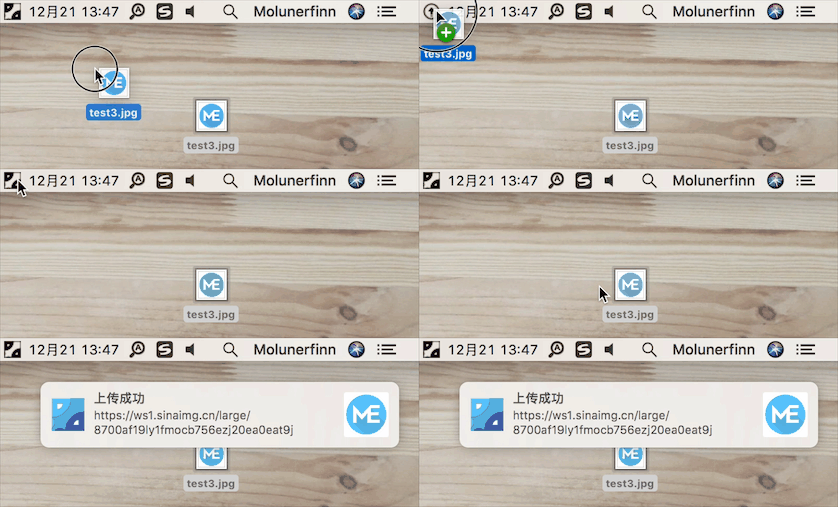
App Overview
PicGo: a tool for quickly uploading images and getting shareable URLs.
PicGo currently supports the following image hosts:
Qiniu image hostv1.0Tencent Cloud COS v4\v5v1.1 & v1.5.0Upyunv1.2.0GitHubv1.5.0SM.MS V2v2.3.0-beta.0Alibaba OSSv1.6.0Imgurv1.6.0
PicGo itself does not plan to add more default image host support. You can build your own third-party image host plug-in.
Key Features
- Drag and drop images directly into the upload area.
- Upload the first image in the clipboard with
command+shift+p(macOS) orcontrol+shift+p(Windows/Linux), and customize the shortcuts whenever you need. - Windows and macOS can upload via the context menu when you right-click image files (
v2.1.0+). - Automatically copy the uploaded URLs to the clipboard.
- Customize the link formats copied to the clipboard.
- Plug-in system support, with community plug-ins for additional image hosts such as Gitee and QingCloud.
- Find more third-party plug-ins and PicGo-based apps in Awesome-PicGo. Contributions are welcome!
- Call PicGo via HTTP requests (
v2.2.0+). - More features are waiting to be discovered, and development is ongoing. Follow the progress on Projects.
PicGo supports macOS, Windows 64-bit (>= v1.3.1), and Linux (>= v1.6.0).
If you are using PicGo for the first time, please refer to Quickstart. When you encounter an issue, check the FAQ and closed issues.
Installation
You can download the latest dmg (MacOS), exe (Windows) or AppImage (Linux).
| Source | URL/Installation | Platform | Remark |
|---|---|---|---|
| GitHub Release | https://github.com/Molunerfinn/PicGo/releases | All | Download speed may be slow in mainland China |
| Shandong University Mirror | https://mirrors.sdu.edu.cn/github-release/Molunerfinn_PicGo | All | Thanks to Shandong University Mirror for hosting the mirror |
| Scoop | scoop bucket add helbing https://github.com/helbing/scoop-bucket & scoop install picgo | Windows | Thanks to @helbing |
| Chocolatey | choco install picgo | Windows | Thanks to @iYato |
| Homebrew | brew install picgo --cask | macOS | Thanks to @womeimingzi11 |
| AUR | yay -S picgo-appimage | Arch-Linux | Thanks to @houbaron |
Snapshots


Development
For Mac and Windows only. Linux platform is not tested yet.
If you want to learn, develop, modify, or build your customized PicGo, please follow these instructions:
If you want to learn about the development of the Electron-vue, you can check out the our tutorial series -- Practice of Electron-vue development.
- You need to have a node, git environment. Knowledge of npm is required.
git clone https://github.com/Molunerfinn/PicGo.gitandcd PicGo.npm installthe dependencies.- Need Xcode (MacOS) or VS (Windows).
- If you need to contribute code, you can refer to Contribution Guidelines
Devement mode
Use command npm run dev to enter the development mode. Development mode has the hot overload feature. Note that the development pattern is unstable and there can be process crashes. In this case, you should:
ctrl+c       # exit development mode
npm run dev  # re-enter the development mode
Production mode
If you want to build your customized PicGo, use command npm run build. Once your build is successful, some corresponding files will appear in the build directory.
Note: If your network environment is poor, you may have the electron-builder failure when downloading the electron binary. If it really happens, you are recommended to specify the source to domestic before npm run build.
export ELECTRON_MIRROR="https://npm.taobao.org/mirrors/electron/"
npm run build
You do not need to do it again if you have done it at the first time. The binary files will exist in the ~/.electron/ directory. If you want to rebuild the electron, just rm -r ~/.electron/ and follow the steps above to make electron-builder install new electron binary files.
Related Work
- vs-picgo: PicGo for VSCode.
- flutter-picgo:PicGo Mobile App(Support Android & iOS )
- PicHoro:Another PicGo Mobile App(Android)
Sponsor
If you like PicGo and it really helps and want to sponsor us a cup of coffee, you can use:
GitHub Sponsors:
Alipay:

WeChat pay:

License
Copyright (c) 2017 - Now Molunerfinn


